
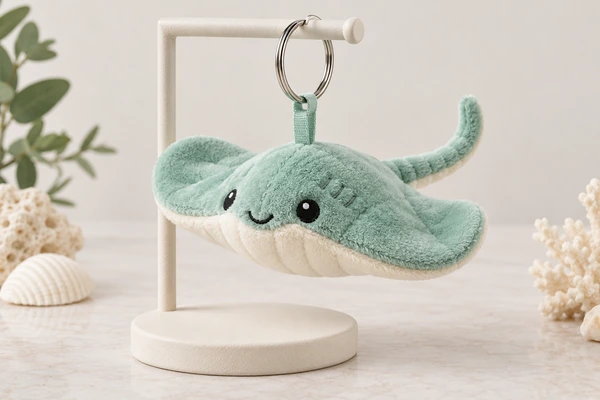
Mini plush keychains work best when the silhouette, main color blocks and expression remain recognizable without relying on tiny details. Treat the miniature as its own design task. Reducing every measurement from a larger plush by the same percentage can leave narrow seams, unreadable branding and attachments that dominate the finished item.
Use this five-check audit for a seafoam stingray charm: a broad wing shape, a cream underside and a simple embroidered face. Start with the role of the mini plush keychain in the range. A checkout add-on, collectible and branded giveaway may need different priorities even at similar sizes.
Check 1: can you recognize it from the outline?
Look at the proposed silhouette without its face or printed decoration. Does the stingray still read as a stingray? If recognition depends on tiny markings, simplify the outline before adding detail. Identify the two or three features that carry the character, such as wide wings and a short tail.
Compare the mini concept with relevant animal plush references. Those references should clarify identity, not dictate identical construction. A large animal can support separate features that become awkward or visually crowded in a small accessory.
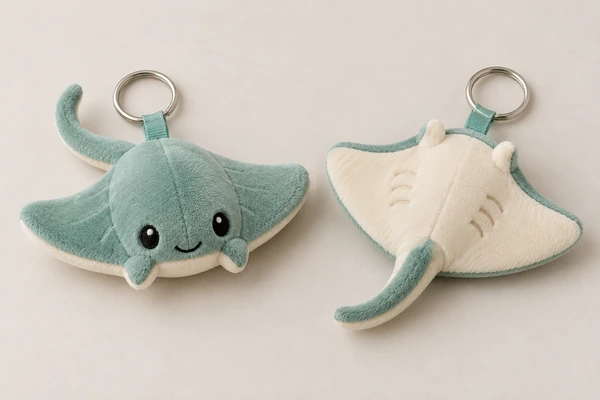
Check 2: does the face survive the actual fabric?
Review the face on the proposed pile, with the panel sewn and filled. Lines that look clear in a digital drawing may become harder to see as the surface curves or fibers cover them. Ask the supplier to show an embroidery trial at the intended physical size rather than a magnified screen image.
Provide clean source artwork and mark essential expression details. Adobe’s artwork-format explanation helps with file preparation. Discuss practical translation during custom development. A simplified face should preserve the intended mood, not merely reduce the number of stitches.
Check 3: is every separate part worth its complexity?
List small ears, fins, tails, clothing and badges. For each, ask whether it must be a separate part or could become a color panel, appliqué or embroidery. Keep the impact on recognizability visible. Removing a decorative badge may be easy; removing the stingray’s wings changes the product’s identity.
Review seam placement and narrow sections with the production team. Coats’ seam guidance provides background on matching material and stitching. Do not assume a visually tidy prototype establishes attachment durability.
Make the intended audience and use explicit. For US toy applications, consult CPSC toy guidance and small-parts requirements. “Mini” describes size, not a safety classification or an age recommendation.
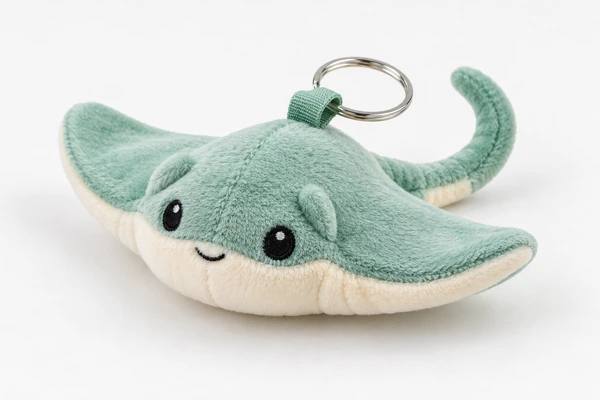
Check 4: does the hardware help the product hang well?
Evaluate the plush with its actual ring or clip installed. The connector’s weight, loop length and position can affect orientation. Hang the charm from the intended bag or display, then see whether the face remains visible and the tail catches on nearby items. Inspect both the fitting and its sewn anchor.
A rotating connector is one option to discuss; YKK’s rotating hardware example illustrates the format. Select the actual component from its own specification and sample. Include the finished assembly in the quality review, with agreed functional and workmanship checks.
Check 5: where should the brand information live?
A tiny plush surface may not be the best place for a detailed logo, care text or a long message. Separate visual branding from information that belongs on a label or hangtag. Check color using physical references where matching matters, and review the complete tag at its intended size.
For retail variants, plan identification with the GS1 GTIN rules. The product should remain easy to distinguish when several colors hang together. A subtle fabric change that only becomes visible in a close-up may not give shoppers a meaningful choice on the peg.
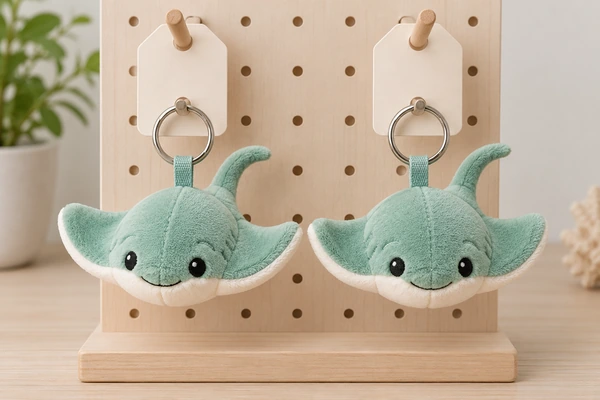
A useful small-scale review
Give the miniature its own revision reference even if it belongs to a larger character family. Record the simplified details, hardware and label placement explicitly. ISO 10007 configuration guidance provides a useful framework for keeping these decisions traceable when the range expands or a repeat order is placed.
Place the sample where customers will encounter it and review it without immediately moving closer. Then inspect it in hand. Record what works at display distance and what rewards closer attention. These are different views, and the design should support both if the channel requires them.
Ask reviewers to describe the character before showing its artwork. If their descriptions consistently miss an essential feature, the physical design may need clarification. This informal exercise can reveal a communication problem, but it is not market research or evidence of sales demand. Keep any conclusions proportionate to the small review group.
Review sampling questions, then submit the miniature design brief with its identity priorities, intended size and attachment point. Approve the mini as a complete product rather than an automatic reduction of the larger plush.
Your plush accessory specifications record
| Confirm | Record with your specification |
|---|---|
| Size and attachment | Finished plush size, drop length and connector type |
| Retail variants | Colors, quantities and clear variant identifiers |
| Assembly check | Complete attachment, hanging orientation and packing sample |
Prepare your plush accessory specifications inquiry
Copy and complete this brief; mark unresolved items to confirm.
Company / contact:
Product / size / intended use:
Market / quantity / arrival date:
Size and attachment:
Retail variants:
Assembly check:
Email This BriefWhatsApp This Brief
Review and send it yourself, or paste it into our inquiry form.
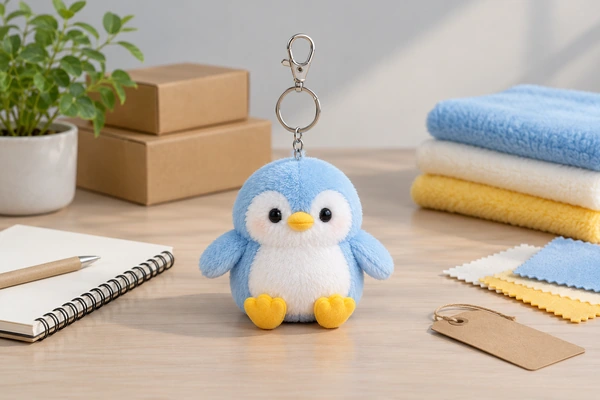
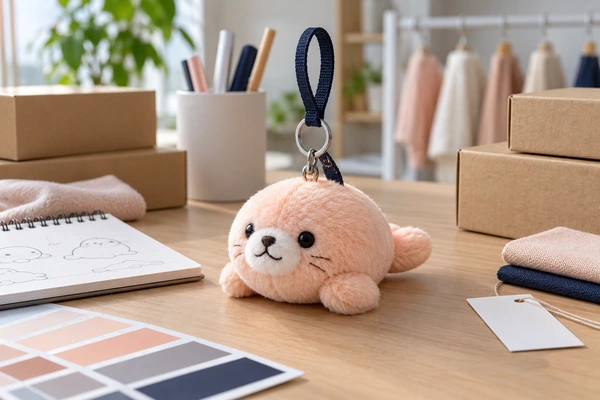
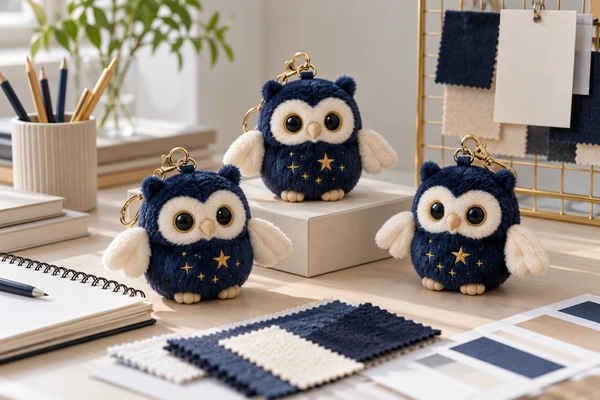
[…] Supply front and rear designs separately, and state which details may be simplified. Read the small-scale plush design guide before approving tiny text or narrow color […]