

A useful custom character plush brief connects the character’s identity to decisions a pattern maker can act on: views, dimensions, materials, facial details, construction priorities and approval rules. Include intended users, destination market, quantities and packaging at the start. A beautiful front-view illustration alone leaves too many production choices open.
Think of the brief as a shared working document for your designer, buyer and sampling team. Browse character plush references to describe the construction you mean, while keeping your own artwork and permissions clearly identified.
The one-page overview: what are we making?
Begin with a short project summary. For an illustrative cloud-sprite character, that might read: “A soft desk companion with a rounded lilac silhouette, coral boots and a calm expression.” Add the proposed size, intended customer, selling channel and delivery market. Describe whether the product is a toy, collectible or promotional item without assuming that your preferred label determines its regulatory classification.
Identify the artwork owner and the person authorized to approve changes. WIPO’s discussion of intellectual property and licensing provides background for licensed merchandise. Obtain the appropriate rights for the actual project rather than asking a factory to copy a familiar commercial character.
Artwork: show what the front view hides
Supply front, side and back views with consistent proportions. Mark the position of ears, hair, tails, clothing and any hidden color panels. If a detail has not been designed, label it as unresolved. A supplier should not have to invent the back of the character from a small social-media image.
Provide clean source files where available. Adobe explains the distinction between raster and vector artwork; vector edges remain scalable, while raster detail depends on resolution. Neither format is automatically a sewing pattern. Use the sample development process to translate the visual design into a three-dimensional object.
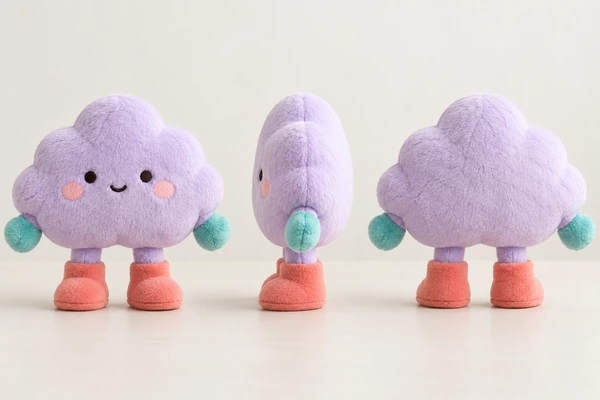
The specification: separate fixed details from flexible ones
| Brief field | State clearly | Leave room to resolve |
|---|---|---|
| Size | Measurement points and intended pose | Agreed production tolerance |
| Identity | Essential silhouette and expression | Pattern seams and internal construction |
| Surface | Preferred hand feel and color references | Available materials and achievable match |
| Branding | Approved artwork and visible placement | Practical size and attachment method |
Explain why a detail matters. “Keep the eyes low because that creates the sleepy expression” is more useful than “make it cute.” Rank your three most important identity features. This helps the sampling team propose changes without losing the character when a flat illustration cannot be reproduced literally.
For a brand campaign, compare mascot and promotional formats separately from retail dolls. A character that must remain recognizable across an exhibition hall may need different proportions from a small desk collectible.
Materials and color: approve something physical
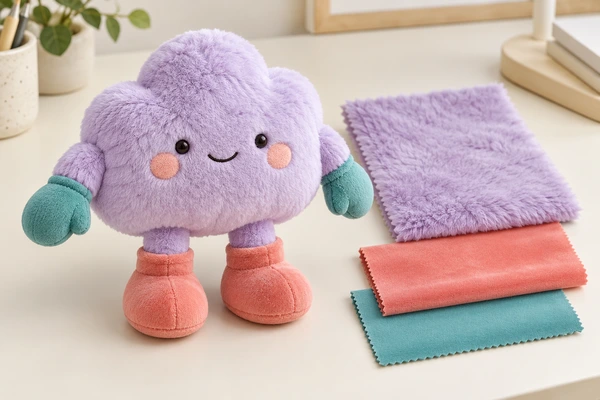
Describe pile length, stretch, softness and desired firmness. Request swatches before assuming that a fabric name guarantees the same feel. Pantone’s physical-sample guidance explains why a screen reference is insufficient for physical color approval.
Discuss these choices through the fabric, filling and branding options. Compare face embroidery on the intended pile, not only on a smooth test scrap. Note whether a color difference between fabric, thread and printed packaging is acceptable.
Safety, packing and approval: complete the brief
Include intended age group and foreseeable use. For US toy projects, consult CPSC toy-safety guidance and the applicable certification requirements. Appearance approval and compliance review are different steps.
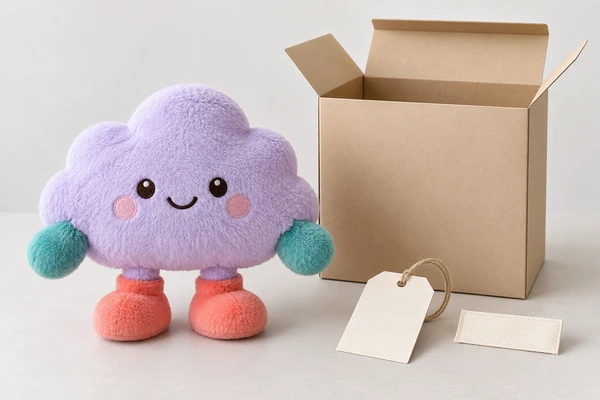
Specify packaging dimensions, contents and whether accessories arrive attached. Use ISTA’s procedure overview when discussing shipping tests, and GS1 identification guidance when planning retail variants. A packaging sketch should not imply that protection has already been tested.
Maintain one revision log with dates, images, decisions and the named approver. ISO 10007 configuration-management guidance offers a useful framework. Connect the approved version to the agreed quality-control discussion before bulk production.
Before you send it
Define what the first sample is meant to prove. A shape prototype may resolve silhouette and balance before final materials are available; a later pre-production sample should represent the agreed production specification. Label these stages clearly so an early color substitute is not accidentally approved for the order. Ask for photographs from the same viewpoints each time and record measurements alongside the images.
Give feedback as a change request: identify the current detail, the desired result and the reason. Avoid separate instructions scattered across emails and chat messages. If the boots become wider, ask whether the change affects the standing pose, carton size or material use. One approved revision document should replace earlier versions so everyone works from the same decision.
Check that the overview, artwork and specification agree. If a miniature extension is planned, flag the plush keychain format as a separate development task. Keep open questions visible, then submit your character design brief with its revision number and priorities.
Prepare your character plush specifications inquiry
Copy and complete this brief; mark unresolved items to confirm.
Company / contact:
Product / size / intended use:
Market / quantity / arrival date:
Character identity:
Product range:
Approval reference:
Email This BriefWhatsApp This Brief
Review and send it yourself, or paste it into our inquiry form.
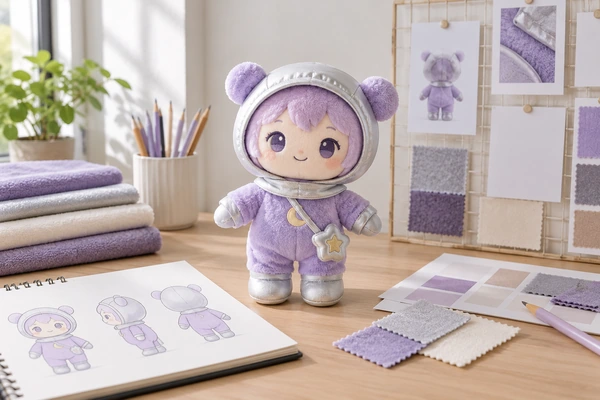
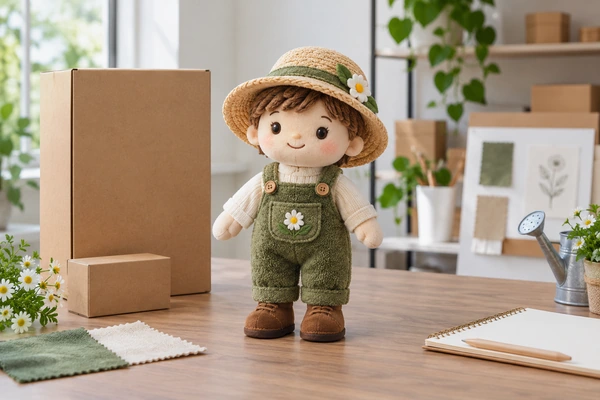
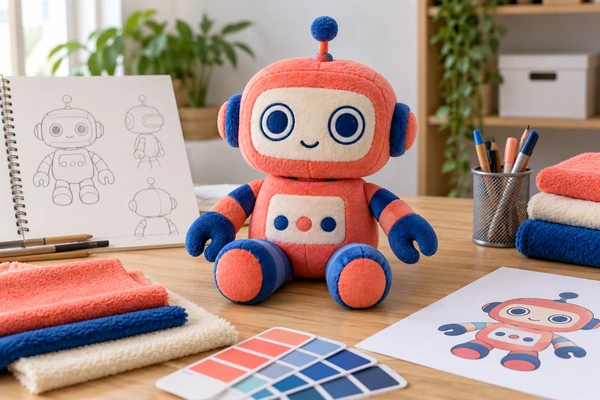
[…] Review the cap, stem, embroidery, loop and label together. Agree whether each component must match or coordinate. Pantone recommends physical references for translating digital colors into products. Record the reference system, shade code, actual fabric swatch and viewing conditions in your design brief. […]
[…] and identify which changes require renewed approval. Submit the final checklist alongside the doll design brief through your project […]
[…] wearing a plain sports jersey. The same method applies to other original team characters. Use the character design brief checklist to assemble the starting information, then translate each brand rule into a production […]
[…] handoff as a conversation that another team must be able to continue without guessing. Begin with a character design brief and attach only the current files. Keep inspiration images clearly separate from the artwork you […]