
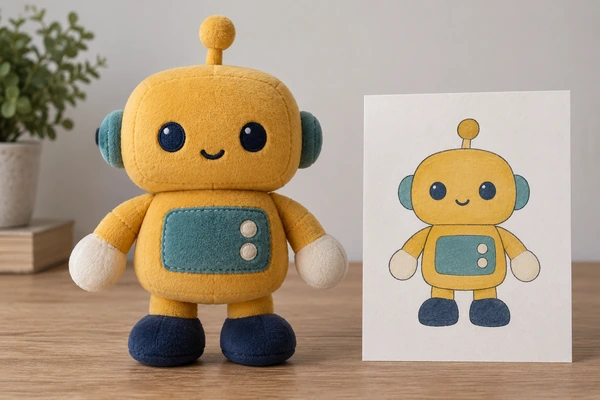
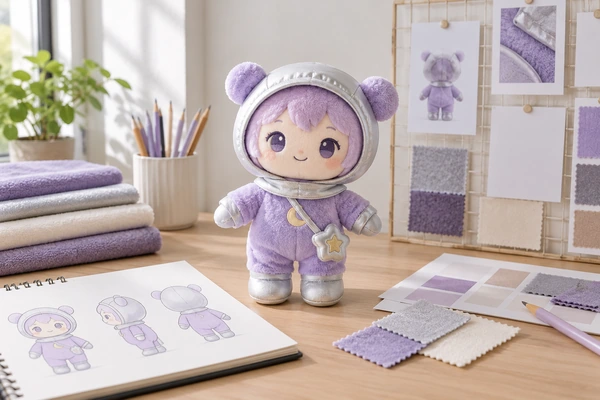
When 2D artwork becomes a plush doll, flat shapes must become sewn panels with depth, seams and filling. Proportions, facial placement and small details may change during sampling because fabric behaves differently from a drawing. The goal is to preserve the character’s recognizable identity while agreeing a construction that can be repeated in production.
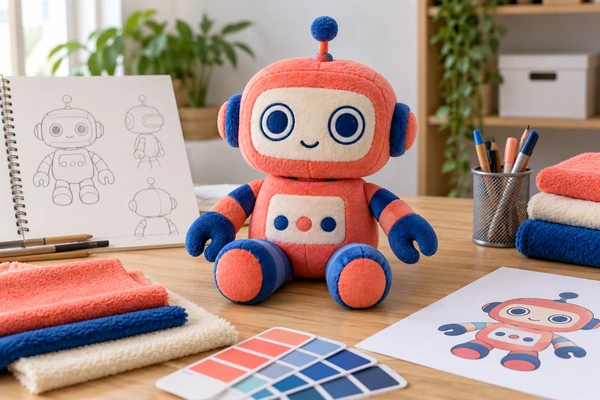
Follow an illustrative mustard-yellow robot through the custom plush doll development process. Its drawing has a square torso, small mitten hands and a teal chest panel. The sample review asks which features make it recognizable and which can adapt without changing its personality.
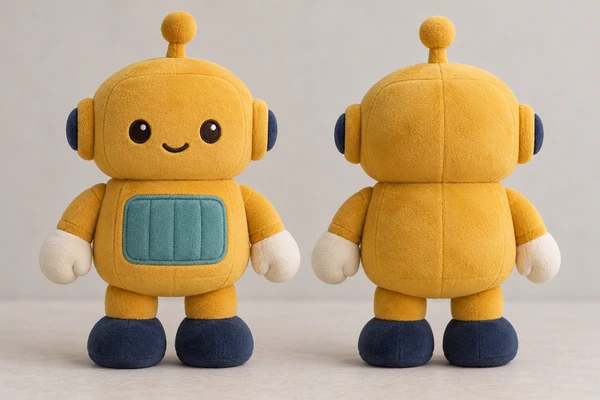
Stage one: the drawing gains a back and sides
A front view does not define torso depth, the back of the head or how the limbs connect. The first task is to fill those gaps with consistent views and measurement points. If the designer has not decided a hidden feature, mark it as an open question instead of letting an assumption become part of the sample.
Provide usable source artwork. Adobe’s raster and vector explanation helps clarify file characteristics, but neither format supplies a finished sewing pattern. Confirm ownership and permitted use of the artwork; WIPO’s licensing discussion provides background for character merchandise.
Stage two: sharp corners become fabric shapes
The robot’s illustrated square body may become softer at the corners once filled. The sample maker can explore panel shapes, seam placement and filling distribution, but a sewn object will not behave like a solid geometric drawing. Review the silhouette from several angles before debating tiny decorative details.
During sample development, identify whether a change is necessary for construction or simply a design preference. Ask the team to explain the tradeoff. A wider foot may improve the intended standing pose while changing the character’s proportions; that decision belongs in the approval record.
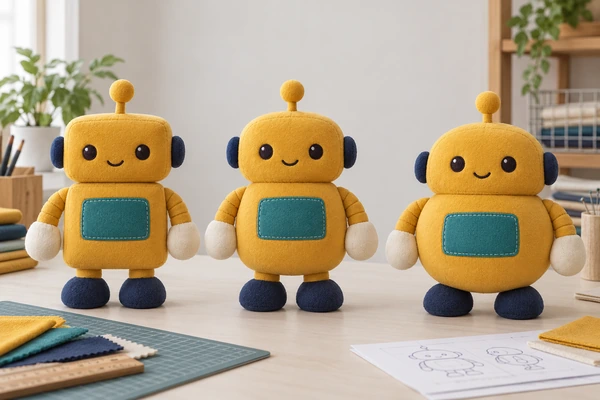
Stage three: the expression moves onto a curved surface
Eyes that look balanced on paper can appear too wide apart when the head is rounded. A mouth may curve differently as the panel stretches and fills. Compare front, three-quarter and side photographs, then inspect the physical sample if the expression is central to the brand.
Give specific feedback: “bring the eyes closer while retaining their height” is more actionable than “the face feels wrong.” Check embroidery on the final pile direction. Keep thread and fabric references together, using physical color samples where matching matters. A digital mockup cannot settle every material interaction.
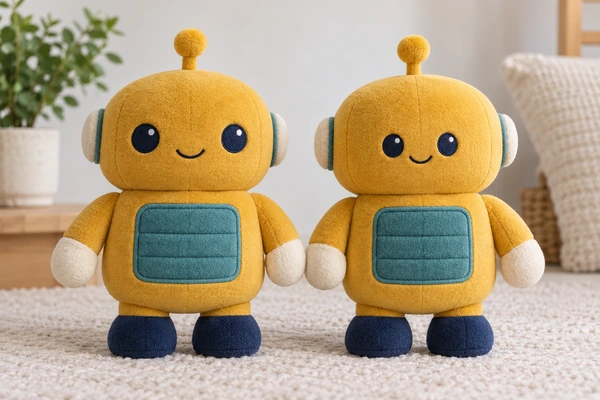
Stage four: details acquire seams and attachments
A narrow finger, antenna or layered badge may need simplification, enlargement or a different technique. Consider an embroidered detail, appliqué or a separate sewn part according to the intended appearance and use. Review the proposed operations with the manufacturing team, including how the part will be filled and attached.
The attachment must be assessed as part of the finished product. Coats’ seam-strength guidance is relevant to the relationship between materials and stitching. For US toy projects, use CPSC guidance and applicable small-parts information when planning the product review.
Stage five: one approved version replaces the alternatives
Agree what approval actually authorizes. Shape approval should not release production with undecided materials, and approval of photographs should not imply that physical feel has been assessed. List any conditions beside the decision and assign a person to close them. This prevents different teams from reading more into a brief approval message than intended.
Make the purpose of each sample clear. An early shape prototype may use substitute materials; the final production reference should match the agreed specification. Do not approve an entire early prototype when only its silhouette has been accepted.
| Review item | Record the decision |
|---|---|
| Silhouette | Approved pose, proportions and measurement points |
| Expression | Face artwork, position and embroidery reference |
| Materials | Fabric, thread, filling and color references |
| Construction | Seams, accessories and accepted simplifications |
| Packaging | Fit, presentation and packing method |
Connect the final sample to the inspection criteria. ISO 10007 provides a configuration-management reference for tracking changes. Discuss package testing separately with reference to ISTA procedures; a good-looking doll has not automatically passed a shipping trial.
Keep each revision request in one document. Record the current condition, requested change, reason and approver. If a change affects another feature, resolve the interaction before approving the next sample. For example, enlarging the head may alter balance, while changing pile length may alter facial visibility. Treat those consequences as part of the same decision.
Retain photographs with consistent lighting and viewpoints so the team can distinguish a real construction change from a camera-angle difference. Keep measured dimensions beside the images rather than estimating size from a hand or a desk prop. This makes later comparisons more dependable.
Review the sampling questions and supplier background, then send your artwork for a sampling discussion. Include the three identity features that must survive the transition from drawing to plush.
Prepare your sample development inquiry
Copy and complete this brief; mark unresolved items to confirm.
Company / contact:
Product / size / intended use:
Market / quantity / arrival date:
Reference version:
Feedback record:
Approval gate:
Email This BriefWhatsApp This Brief
Review and send it yourself, or paste it into our inquiry form.
[…] configuration-management guidance offers a useful framework for controlling versions. Read about changes during plush sampling before promising exact reproduction of every drawn […]
[…] the artwork-to-plush sampling comparison to discuss unavoidable three-dimensional adjustments. For color, ask how physical references are […]